Laravel - How to send email
Theodoros Kafantaris
Published on July 08, 2024
In this tutorial, we will implement sending functionality of laravel. Laravel makes it a breeze to integrate email functionality into your project.
Configuring Mail Services
Laravel makes configuring email services incredibly simple. Open the .env file and configure your mail settings. You can use services like SMTP, Mailgun, or Sendmail.
                    MAIL_MAILER=smtp
MAIL_HOST=smtp.gmail.com
MAIL_PORT=587
MAIL_USERNAME=your-username
MAIL_PASSWORD=your-password
MAIL_ENCRYPTION=tls
Creating Email Templates
Laravel provides a convenient way to create email templates. You can generate a new email class using Artisan:
php artisan make:mail OrderNotes
This command will create a new OrderNotes class in the app/Mail directory.
The file will look like:
<?php
namespace App\Mail;
use Illuminate\Bus\Queueable;
use Illuminate\Contracts\Queue\ShouldQueue;
use Illuminate\Mail\Mailable;
use Illuminate\Mail\Mailables\Content;
use Illuminate\Mail\Mailables\Envelope;
use Illuminate\Queue\SerializesModels;
class OrderNotes extends Mailable
{
use Queueable, SerializesModels;
protected $note, $document, $user;
/**
* Create a new message instance.
*
* @return void
*/
public function __construct($note, $document, $user)
{
$this->note = $note;
$this->document = $document;
$this->user = $user;
}
/**
* Get the message envelope.
*
* @return \Illuminate\Mail\Mailables\Envelope
*/
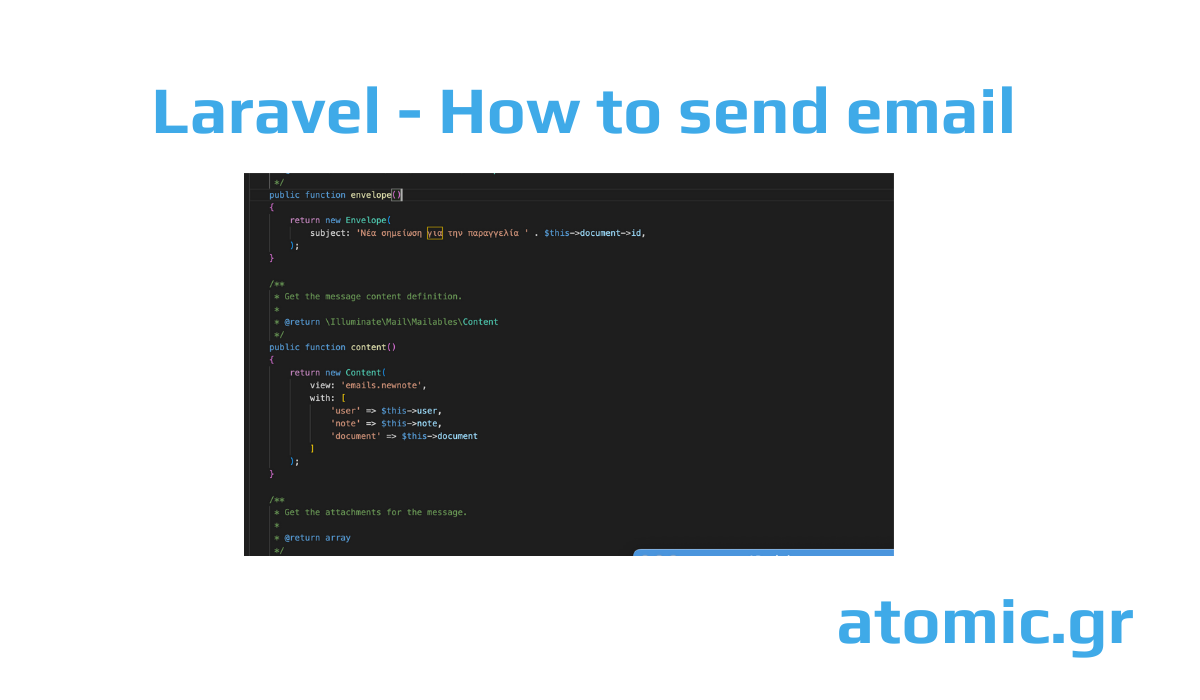
public function envelope()
{
return new Envelope(
subject: 'New Note for your Order ' . $this->document->id,
);
}
/**
* Get the message content definition.
*
* @return \Illuminate\Mail\Mailables\Content
*/
public function content()
{
return new Content(
view: 'emails.newnote',
with: [
'user' => $this->user,
'note' => $this->note,
]
);
}
/**
* Get the attachments for the message.
*
* @return array
*/
public function attachments()
{
return [];
}
}
The important thing here is to use a protected variable to pass any data to email template. In this case we use $note, $user, $document.
Now we need to create a Blade view for your email in the resources/views/emails directory. For instance, create a newnote.blade.php file with your HTML content.
                    <!DOCTYPE html>
<html>

<body>
    <div>
        <h1>New Note for your Order</h1>
        <p>{{ $user->name }} wrote:</p>
        <p>{{ $note }}</p>
    </div>
</body>
Passing Data to the Email
You can pass data to your emails adding protected properties or constructor arguments to your email class. For instance inside in a laravel or livewire controller you can do this.
Mail::to("thkafadaris@atomic.gr")->send(new OrderNotes($this->note, $this->document, auth()->user()));

